Note: Before submitting an app in the Developer portal, to facilitate quick review and publishing, ensure that the app meets the content and coding guidelines.
The Freshworks’ app submission process enables you to,
- Upload and submit a new Freshworks app.
- Upload and submit a new version of an existing Freshworks app.
For a Freshworks app, after a new version is reviewed and published, it is available for app users, if they want to update their existing app.
The developer platform’s What’s New feature,
- Enables you to provide a What’s New/Release Notes write-up, when submitting a new version of an app. For information on how to include Release Notes when uploading a new version of the app, see Upload and submit a new version of an existing Freshworks app.
- Helps app users understand the enhancements in the new version. When app users view the list of installed apps, if a new version of the app is available, a What’s New link is displayed along with the Update button. App users can click this link to read the release notes and then take a call on whether to update the app. The What’s New and the Update button are also available when app users navigate to the apps gallery (Admin > Support Operations, > Apps), select an app card, and view the app details.
After your app is deployed, you can measure your apps usability and engage with your app users, through the App insights provision. For more information, see View app insights.
Upload and submit a new freshworks app
Log in to your Freshcaller account and from the left navigation pane, navigate to Admin Settings > Apps. The Apps gallery is displayed.
Click Go to Developer Portal. The All Apps page is displayed.
Click New App and select Freshworks App. The Create a new app page is displayed.
In the What do we call your app? field, enter a meaningful name comprising two or three words.
From What type of app is this?, select Freshworks App.
In the Freshworks App section, click Upload app file, select the packed app file, and click Open. The packed app file is uploaded.
Note: To replace the uploaded app file, click Replace App file, select the packed app file, and click Open. The packed app file is replaced.
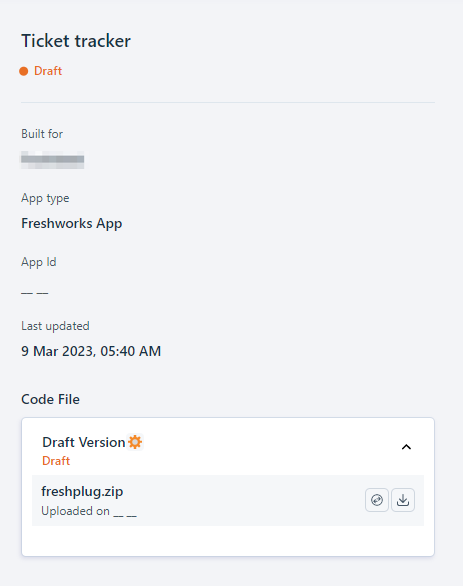
Click Proceed. A page for entering the app details is displayed and the Supported Product field is auto-populated as Freshcaller. In the details panel on the left, the following values are auto-populated:
- The app’s name with the app status as Draft.
- Built for: The product for which the app is built.
- App type: Specifies how an app is available to an app user. Possible App types: Freshworks app (publicly displayed in the Marketplace), Custom app (private only to the customer using the product), External app (listed in an external website).
- App Id: An app’s identifier that is displayed after the app is published.
- Last updated: The timestamp of when the app was last modified.
- Code File : The status and versions of the uploaded app, displayed in chronological order. When a new Freshworks app file is uploaded, the status is Draft Version (Draft).
To replace the uploaded app, in the Code File section, click the replace icon.
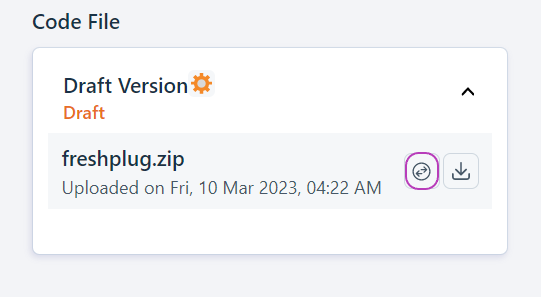 The Add New Version window is displayed. Click Replace to upload a new packed app file.
In the main section of the app details page, navigate to the App information tab and update the requisite app details.
To specify the app information in a language other than English (default language), navigate to the Multi-language setup tab and click Add language. A list of languages is displayed. Select the languages in which you want to specify app information and click Add. Sections corresponding to the languages are added. Navigate to each language section and in the fields displayed, enter the appropriate values.
To save the app details, click Save.
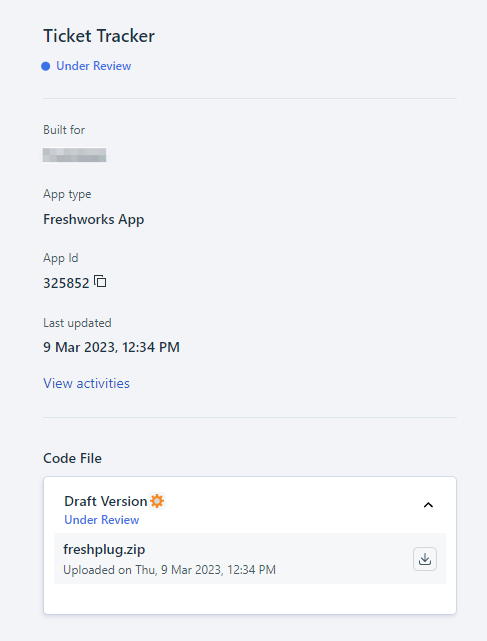
Click Save and Publish, to submit the app for the approval process. In the details panel, the Last updated timestamp is updated. A View activities link is displayed. To view all app submission activities that have been performed, click View activities. The Activities page is displayed. In the Code File section the app status is updated as Draft Version (Under Review).
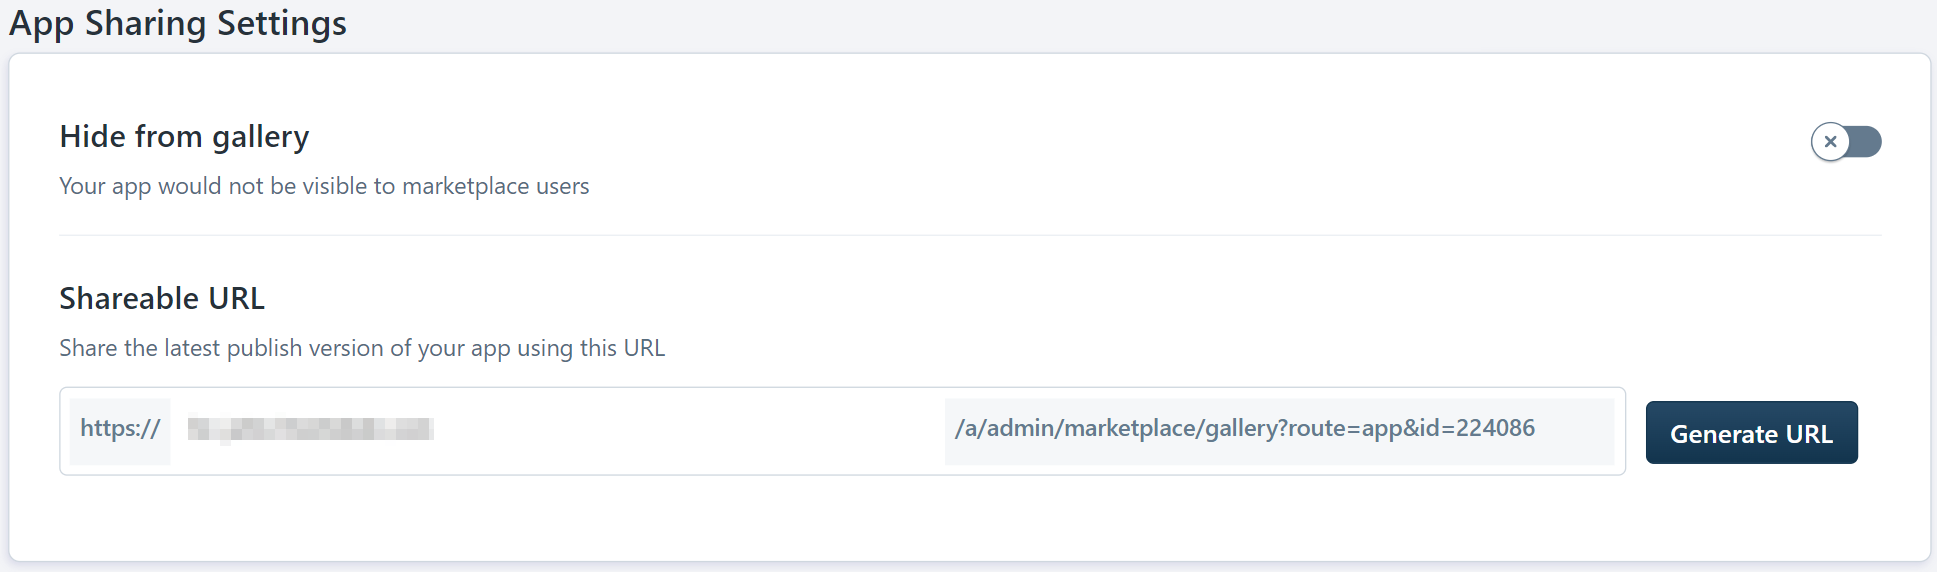
- In the App Sharing Settings section, set the Hide from gallery toggle key to on state.
Note: When submitting an app, in the app details page > app information tab, if you had enabled Hide from gallery, this key is set to on by default.
- In the Shareable URL input box, enter the full domain name (<sub-domain>.domain.com) of the customer account for which you want to make your app accessible. Example domain name: freshfoods.freshcaller.com.
- Click Generate URL. The shareable link to access your app is displayed below the Shareable URL input box.
- Ratings and Reviews
- Uninstall Feedback
Click Reply to review. A text box is displayed.
Enter your response and click Post. The response is displayed along with the provision to edit or delete your response.
- To delete the uploaded app file, click Delete.
- To replace the uploaded app file, click Edit. The Add new version window is displayed. Click Replace to upload a new packed app file. After uploading the new packed app file, in the Code File section, the status of the app is modified to Draft Version (Draft).
After the app is reviewed and approved, it is published to the Freshworks Marketplace.
After app approval
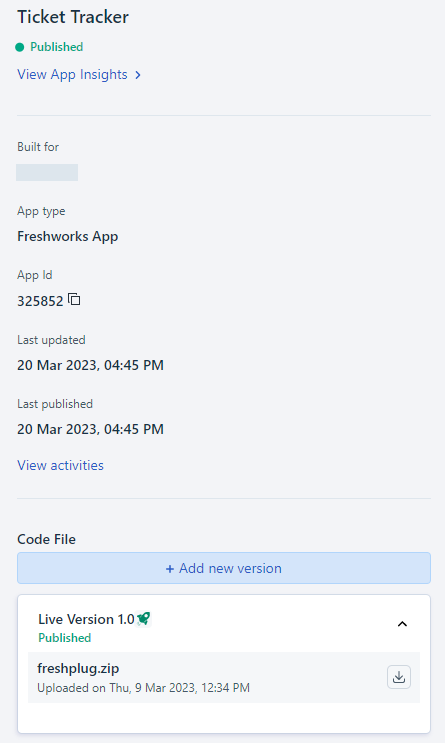
If the app is approved and published to Marketplace, in the App details page > Code File section, the status of the app is modified to Live Version (Published).
Provide selective access
After the app is published, in the main section of the app details page, an App Sharing Settings section is displayed. You can provide limited accessibility to your app by hiding the app from the Marketplace and selectively sharing an account-specific URL. App users on that account can access the app through the shared URL. To do this,
View app insights
App insights provide metrics or data that help you to assess your deployed apps. After the app is published, in the App details page > details panel, a View App Insights link is displayed. Click the link. In the main section, the following tabs are displayed.
Ratings and Reviews: To view the ratings and reviews that app users have provided for your app, navigate to the Ratings and Reviews tab. The cumulative (average) rating of your app is displayed along with the count of the number of users who have rated your app and the number of app installations. The elaborate reviews that the app users have provided is also displayed.
In the following image,  is the count of the number of users who have rated the app and
  is the number of app installations, currently.
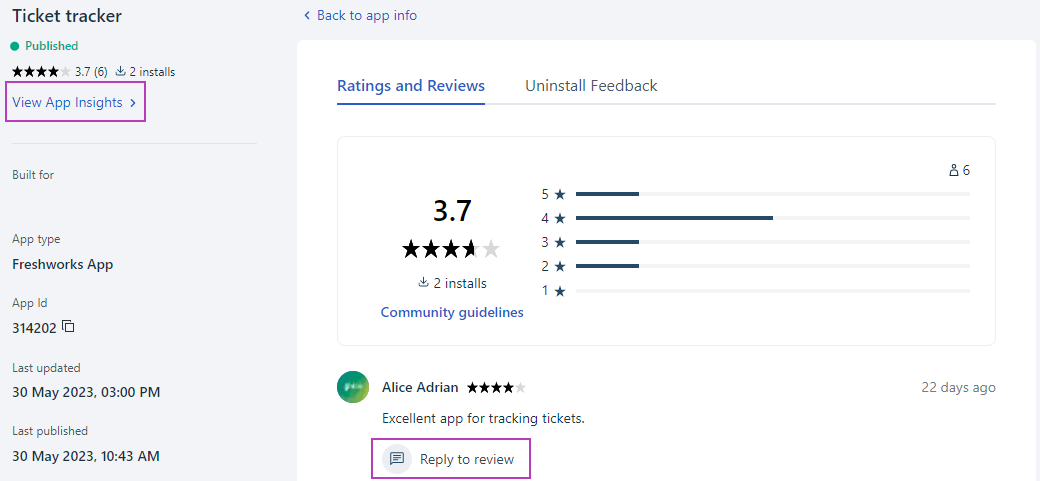 To reply to a review:
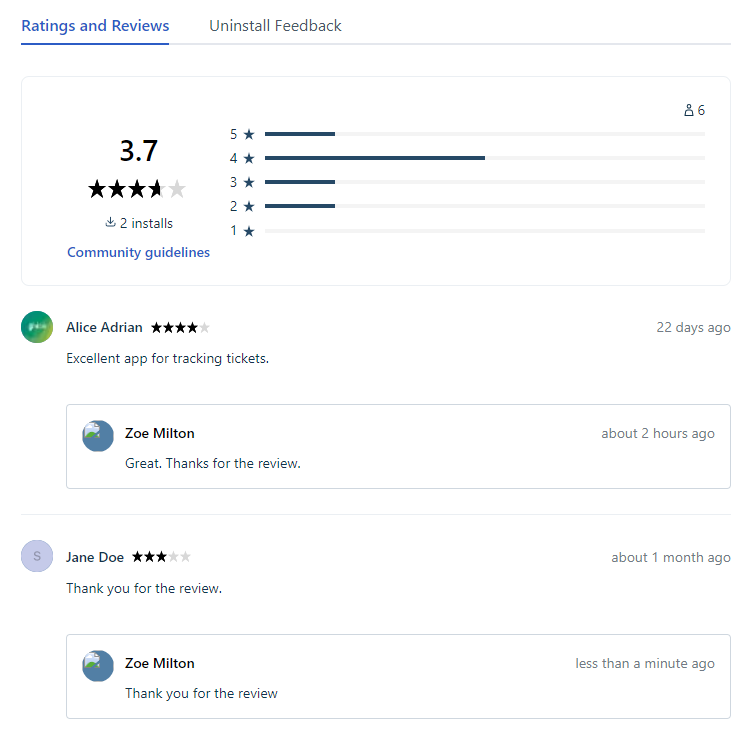
When engaging with users through your response, ensure to phrase the response such that it aligns to our community guidelines. To access the guidelines, under the Ratings and Reviews tab, click Community guidelines. The Community guidelines window is displayed.
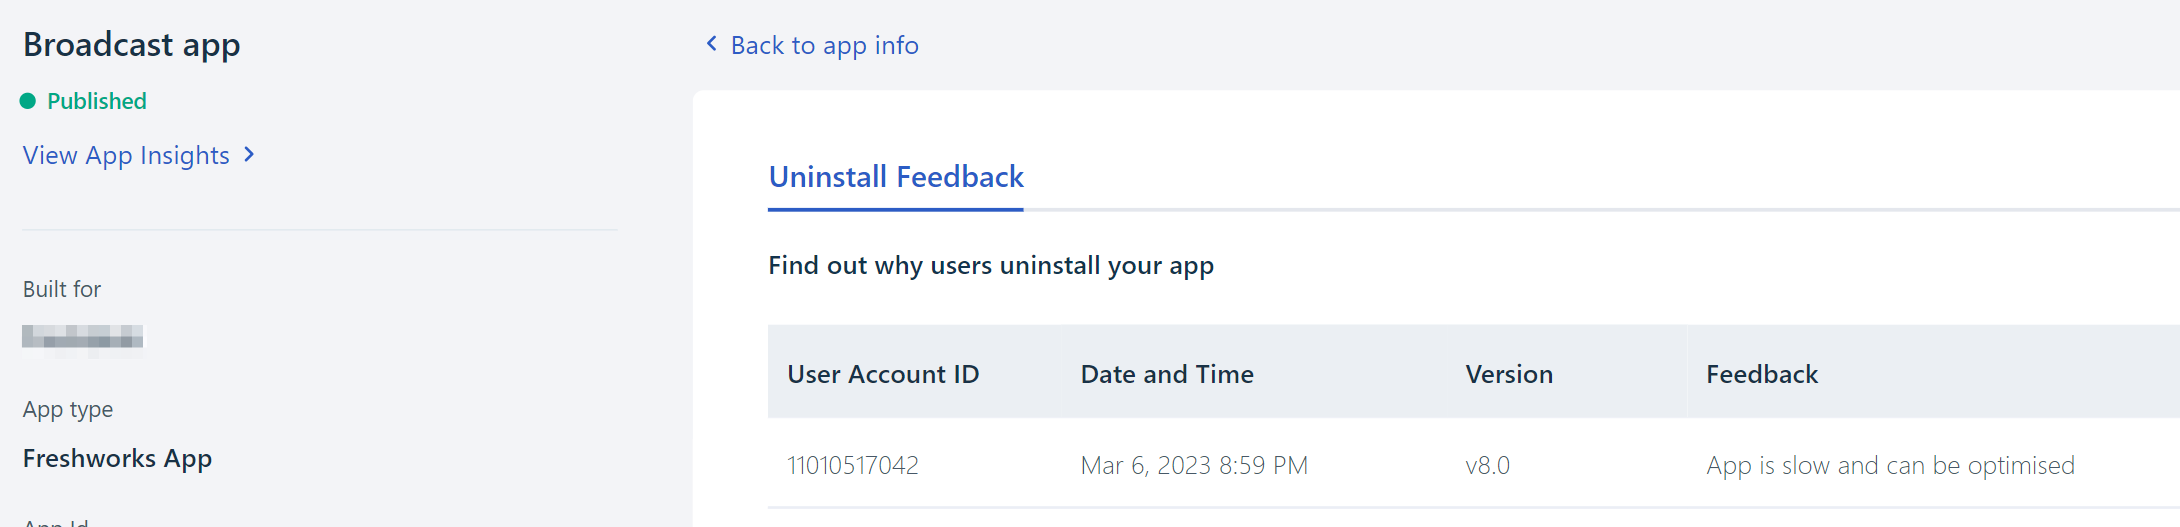
Uninstall Feedback: Click the Uninstall Feedback tab to view any feedback provided when an app user uninstalls your app.
After app rejection
If the app is rejected, in the App details page > Code File section, the status of the app is modified to Draft Version (Rejected) and the uploaded app file is available for deleting or editing.

Upload and submit a new version of an existing Freshworks app
Navigate to Admin Settings > Apps > Go to Developer Portal and click on the Freshworks app card corresponding to the published app for which you want to upload a new version. A page with the app details is displayed. In the details panel on the left, under the Code File > Live Versions section, all published app versions (up to a maximum of two latest versions) are listed.
In the Code File section, click Add new version. The Add new version window is displayed.
Click Click to upload and select the packed app file and click Open. The packed app file is uploaded and the Auto update toggle key is displayed.
To replace the uploaded app file, click Replace.
To automatically update in-use apps to the latest app version, set the Auto update toggle key to on state.
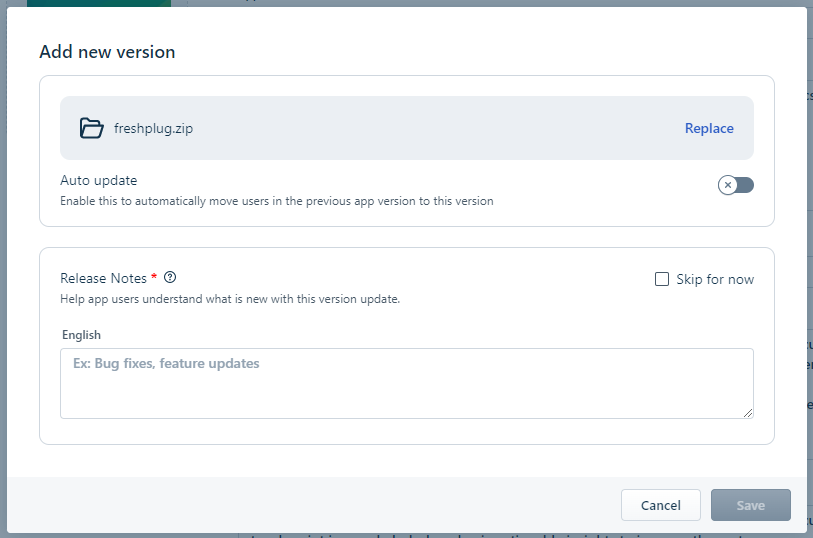
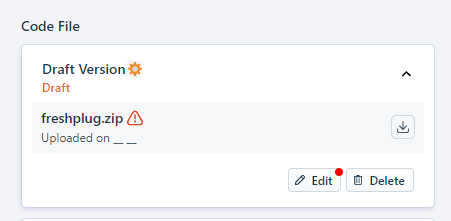
In the Release Notes section of the Add New Version window, if the app has multi-language support, sections corresponding to the languages are displayed. Otherwise, a section for English (default section) is displayed. Navigate to each language section and enter pertinent information regarding all feature enhancements, updates, and bug fixes associated with the uploaded new version and click Save. The app details page is displayed. In the Code File section, the new version of the app is listed. The app status is Draft Version (Draft).
Note: To successfully submit the new version, it is mandatory to enter the release notes in all supported languages.
To add the release notes later, select the Skip for now checkbox and click Save. The app details page is displayed. In the Code File section, the new version of the app is listed with a warning symbol. The Edit button displays a red dot which is a prompt to add the release notes.
In the main section of the app details page, navigate to the App information tab and update the requisite app details.
To add a supported language in which the app information is displayed, navigate to the Multi-language setup tab and click Add language. A list of languages is displayed. Select the language you want to add and click Add. A section corresponding to the language is added. Navigate to the language section and in the fields displayed, enter the appropriate values. In the Code File section, the Edit button displays a red dot indicating that the release notes update is incomplete. To update the release notes in the newly added language, click Edit. The Add new version window is displayed. In the Release Notes section, navigate to the newly added language and update the corresponding content.
To save the app details, click Save.
Click Save and Publish, to submit the app for the approval process. The app status is updated as Draft Version (Under Review) in the Code File section.
If necessary, provide selective, account-specific access to your app.
After the app is reviewed and approved, it is available for app users, if they want to update their existing app. In the Installed Apps page, next to the app, a What’s New link is displayed along with an Update button. App users can click this link to read the Release Notes and then take a call on whether to update the app. The What’s New and the Update button are also available when app users navigate to the apps gallery (Admin > Support Operations > Apps), select an app card, and view the app details.
Note: If you have enabled auto-update for your app version, the What’s New, content and the Update button are not displayed to app users. All in-use apps are automatically updated to the app version for which auto-update is enabled.
App information tab
Click Upload App icon and upload an icon to represent the app. Ensure that the logo meets the following requirements.
- Image format is PNG.
- Logo background is transparent.
- Aspect ratio is 1:1.
- Minimum resolution is 400 x 400 pixels.
Provide appropriate app information by using the following fields.
- YouTube link - https://youtu.be/VIDEO_ID
- Vimeo link - https://player.vimeo.com/video/VIDEO_ID
- mage format is PNG or JPG.
- Minimum resolution is 1600 x 1000 pixels.
| FIELD | DESCRIPTION |
App Name Mandatory |
Enter a name for the app, comprising two to three words. |
|---|---|
|
App Overview Mandatory |
Enter an introduction to the app, not exceeding 100 characters. |
|
Short Description |
Enter a brief description of the app’s functionality and features. |
|
App Description Mandatory |
Enter a description stating the value that the app imparts to Freshcaller. Mention any specific use case necessary to support the value proposition. |
| Instructions | When the app is installed, if specific user actions are required, enter the instructions as a sequential list. |
|
Video Link Mandatory |
Enter the URL to the YouTube or Vimeo video that explains the app’s use case. The URL needs to be in the following format:
|
|
App Screenshots Mandatory |
Upload screenshots to illustrate how the app works. Capture different states and process flows to give users a better insight into the app. You can upload a maximum of five screenshots. Ensure that the screenshots meet the following requirements. |
|
App Category Mandatory |
Select the appropriate category to help users filter and find the app in the Marketplace gallery. You can select a maximum of two categories. |
|
App Specification/Demo Video Mandatory |
Enter the URL to the app’s specification document or demo video. |
|
Support Email Mandatory |
Enter the email address that users can use to contact you in case of any queries regarding the app. |
|
Support URL Mandatory |
Enter the URL to any location where users can find more information about the app. |
|
Alternate Email Mandatory |
Enter the email address that Freshworks can use to contact you, when the app is under review. |
|
Privacy policy URL Mandatory |
Enter the URL to the app’s privacy policy that clearly states the mechanism followed by the app when handling user information. |
|
Terms of Service URL Mandatory |
Enter the URL to the Terms of Service/Use that apply to the app user, when using the app. |
| Hide from gallery | Set the toggle key to on state, to hide the app from the Marketplace apps gallery. After the app is published successfully, in the app details page, an App Sharing Settings section is displayed. This section facilitates generating a shareable link for your app and enables you to provide selective access to your app. |